

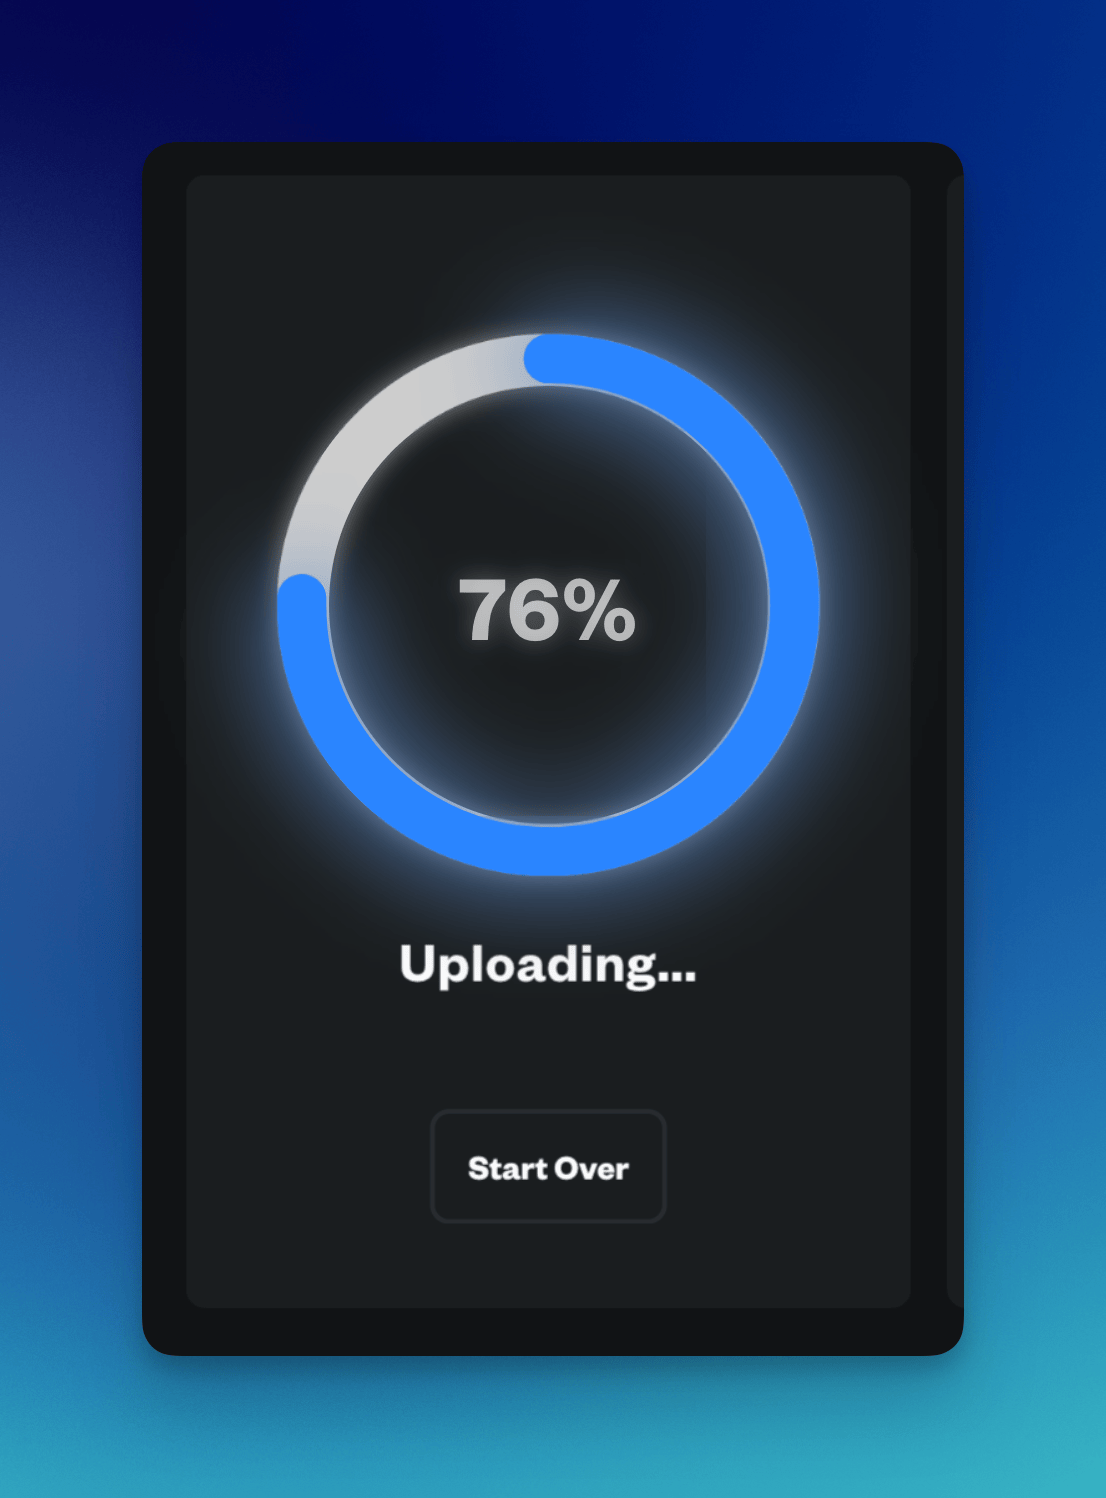
- Uploading
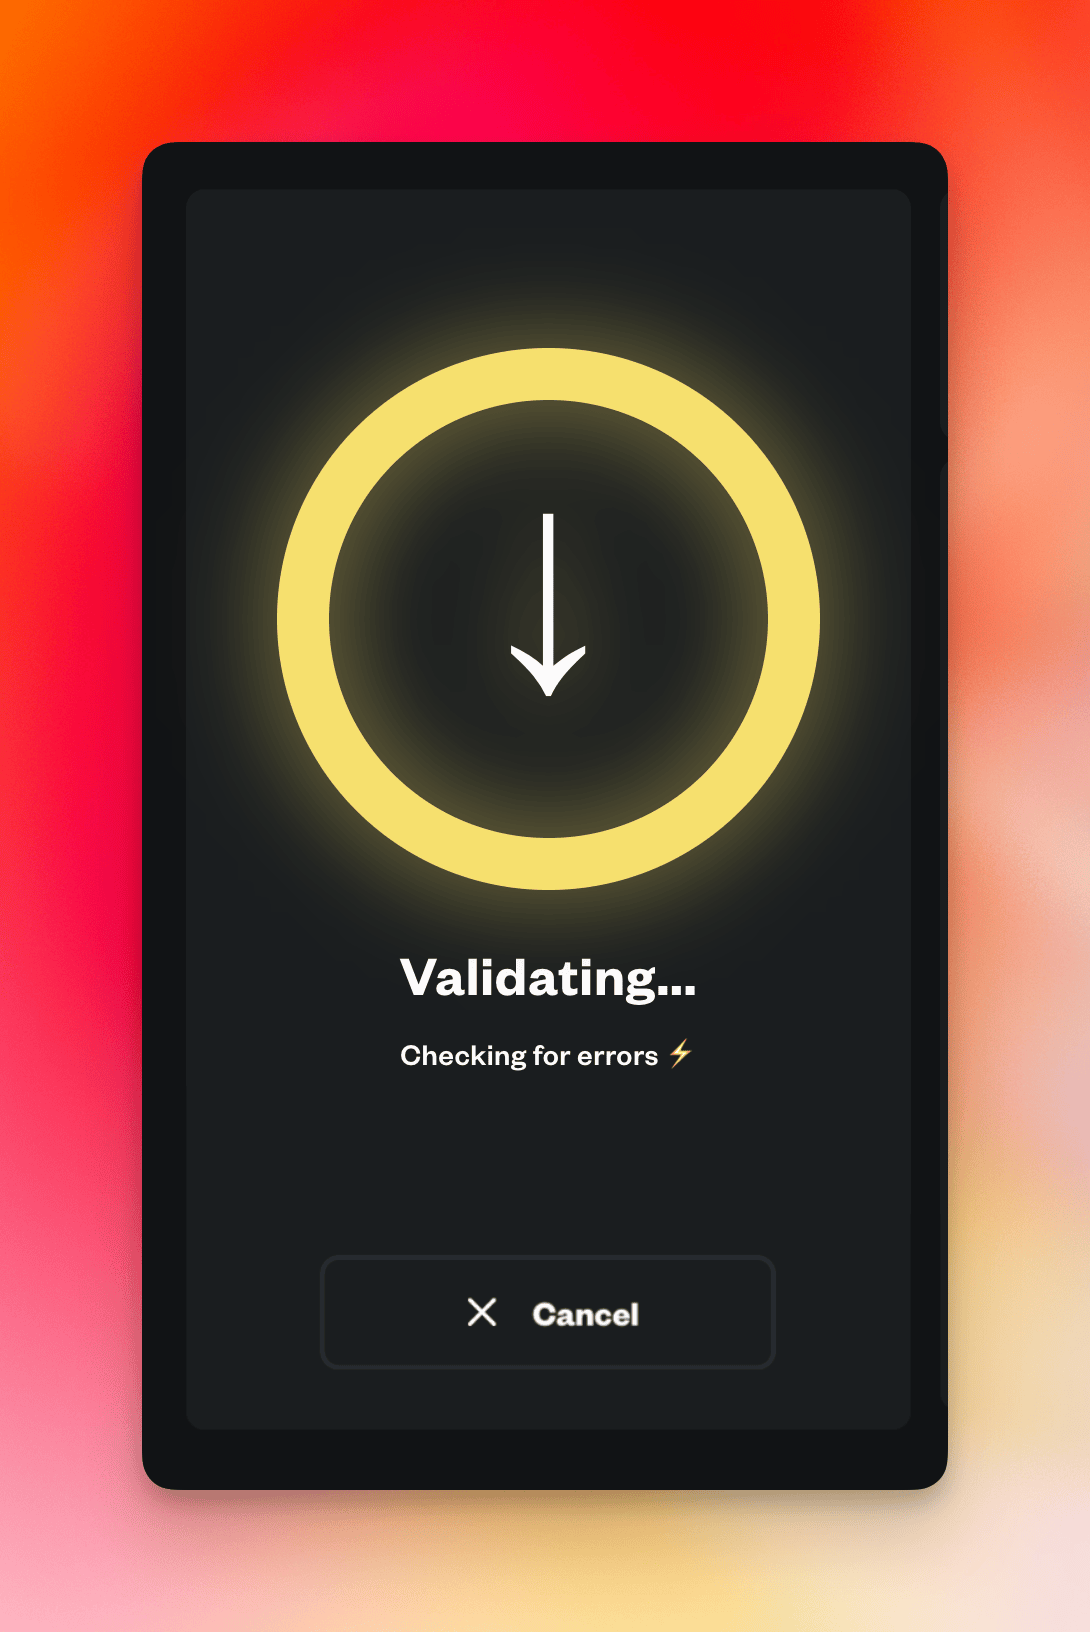
- Validating
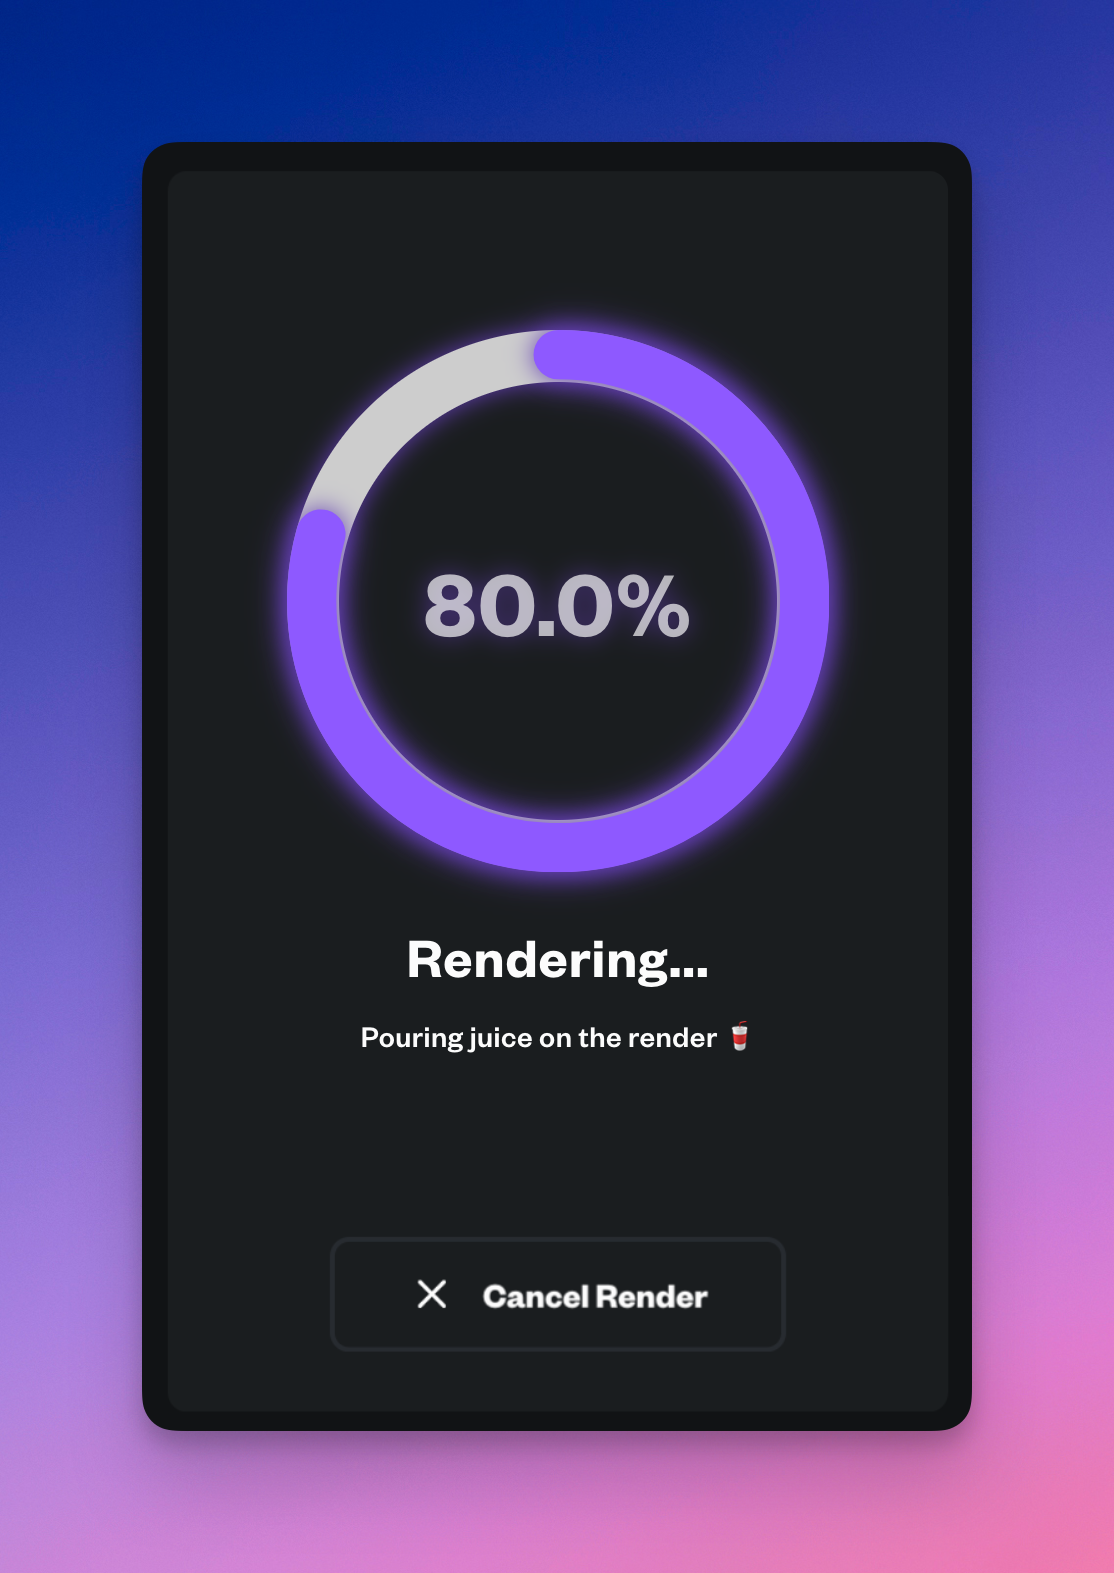
- Rendering
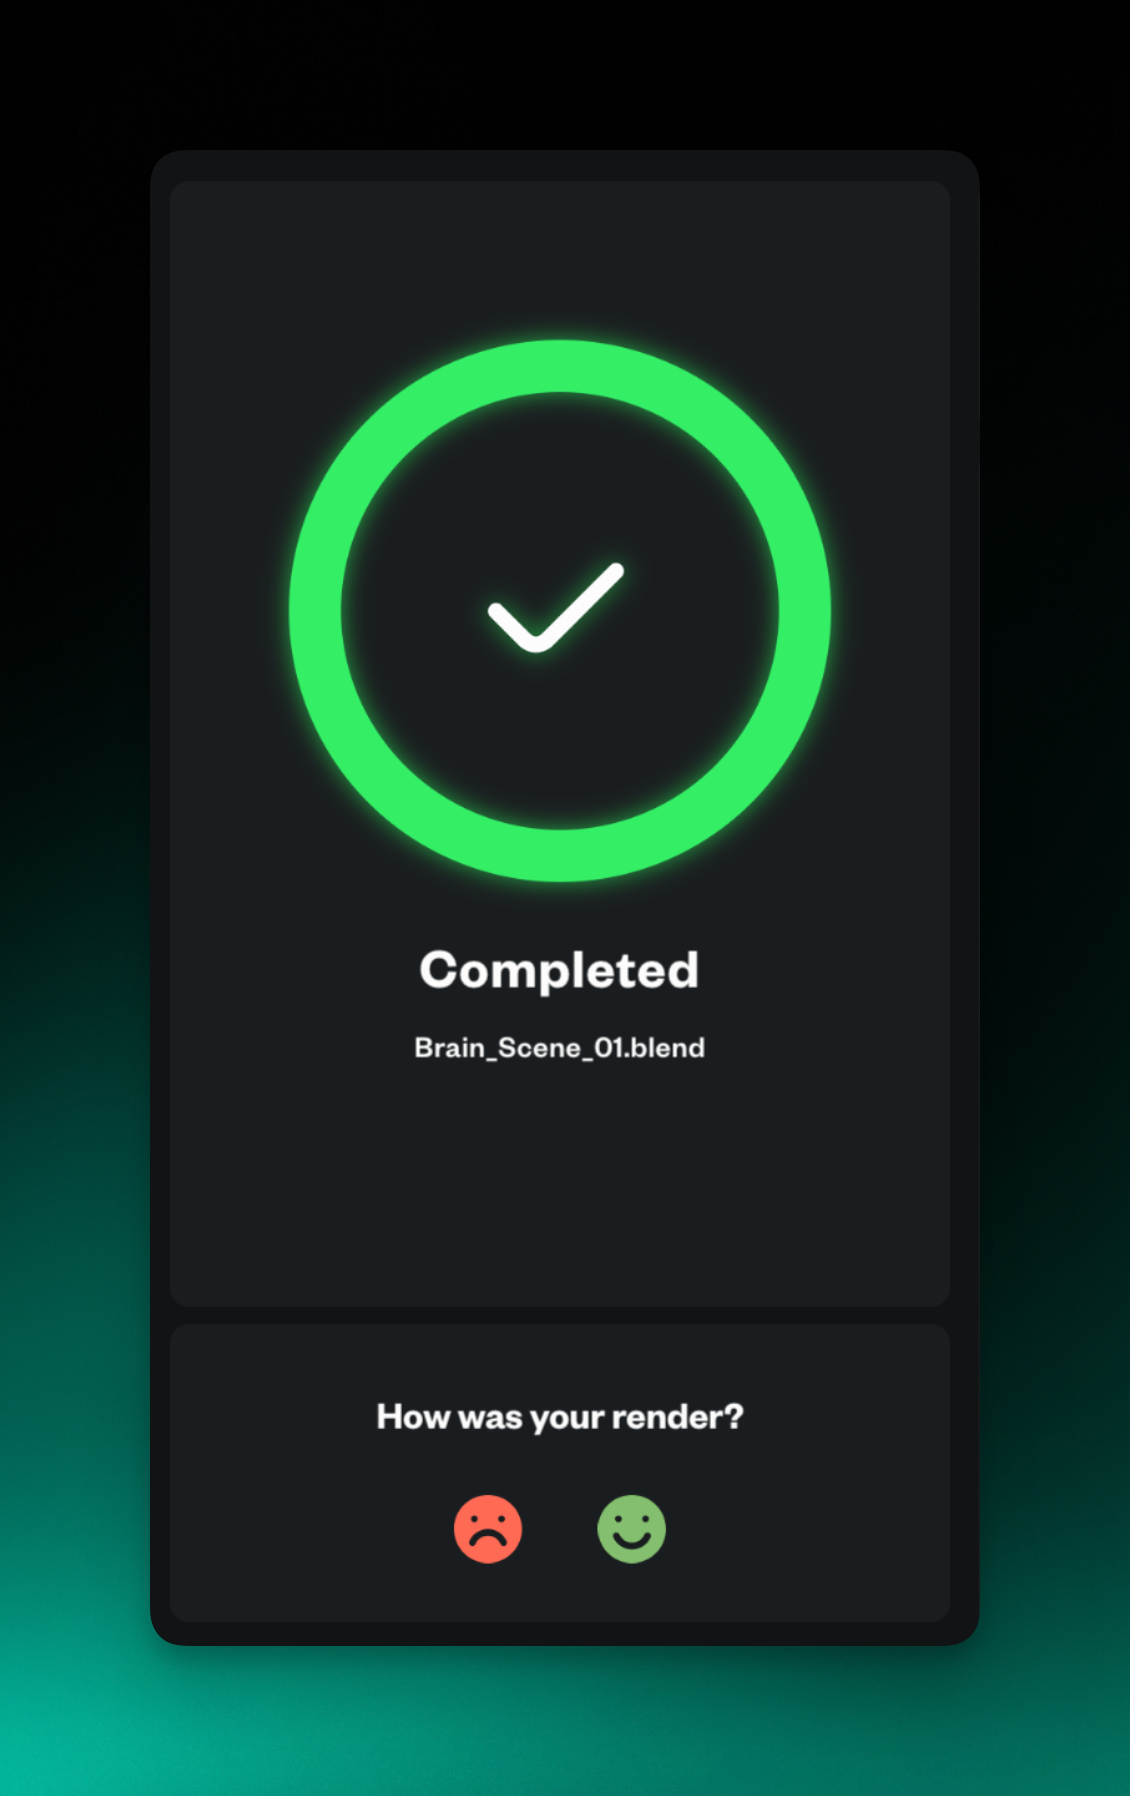
- Completed
There are a few other sub-phases, but we’ve left them out here for clarity. These include Booting, Finalizing, and possible Error statuses.
- 1. Uploading
- 2. Validating
- 3. Rendering
- 4. Completed
Your render is being uploaded to our servers. This is a one-time step.
Walkthrough your first render
Okay, now that you’ve seen the phases, let’s walk through your first render.- Step by Step
Decide what format you want to upload with
Renderjuice accepts both
.zip and .blend files. For your first render,
we recommend using a simple .blend file.Wait for validation to complete
During this step, Renderjuice is going through your file and extracting
metadata like Blender version, render settings, and missing files.
(Optional) Fix any missing files
The UI will notify you of any missing files or dependencies when
validation completes. You may fix these or proceed if you’re confident
the render doesn’t need these.
Tweak and modify
The UI will notify you of any missing files or dependencies when
validation completes. Please fix these or proceed if you’re confident
the render doesn’t need these.
Input the frames you want to render
Input the frame ranges you’d like to render. Comma separated ranges like
1-100, 200-300 are supported.